Build your AVA and Upload Products
Note: You are viewing instructions for the Old UI of the AI Virtual Assistant (AVA).
If you are using the updated version, please see: Setup and Display AI Virtual Assistant (AVA) – New UI
Follow these steps to create your AI Video Assistant (AVA) and link it to your products for a tailored customer experience.
- Build your Ava and Upload products
- Provide AVA With Resource and Product Knowledge
- Add Products
- One click crawling
- Personalize
- Conversation History
- Add to Site
- Select AI Video Assistant from the toolbar in the Business Portal.
- Click on Create New Assistant and select the assistant profile for your product and click Add Expertise.

- Next, specify the areas of expertise for your assistant and select a product that will enable them to provide precise and helpful guidance to your customers.
- Assign a name to your assistant, provide a description, customize the initial greeting, and set up follow-up greetings for returning users.
- Select your Store and choose which product you want to use AVA for, then click Add.
- After completing the addition of these details, proceed by clicking on the Personalize Appearance option.
- Choose a solid background colour for the assistant.
- You can also select the default interaction mode, which determines the initial input preference that shoppers will encounter. They will have the option to switch between text input and audio input during the conversation.
- Upload a Custom Image: This image will serve as a replacement for the default digital human avatar in the user interface, allowing you to personalize the appearance of your assistant.
-
Click on Create Avatar once done.

- You can add multiple products to AVA by following the steps outlined here.
Provide AVA With Resource and Product Knowledge
Once you are on the AVA details page, locate the Resources menu on the left sidebar. Click on it, then select Add Resources+ to begin uploading your Video, Text, File or URL.
- Video/Image:

- Easily add your video files by dragging and dropping, or selecting from your device.
- Enter the video Title and Toggle Use Original Audio to On to provide the original audio for this video. Otherwise Ava will talk over the video if a response is provided.
- Once the video is uploaded and information is added, select Add Video.
- You can also include product in your video by clicking the edit option next to the video and selecting the desired product from the dropdown menu. You can select only one product as per the video (Please note that only products already added to AVA will be displayed in this list)


- Plain Text:
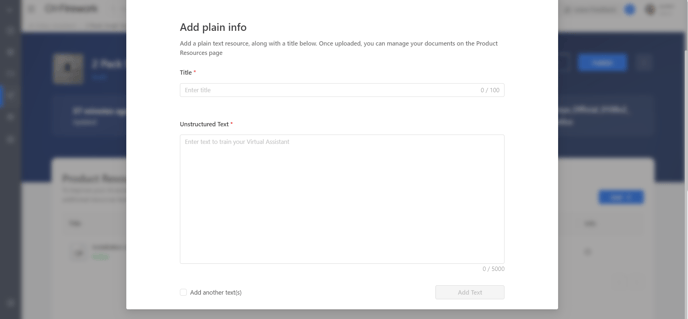
- Title = this section serves as the question the user will ask.
- Unstructured Text = this will be the answer that AVA will refer to.
- File:
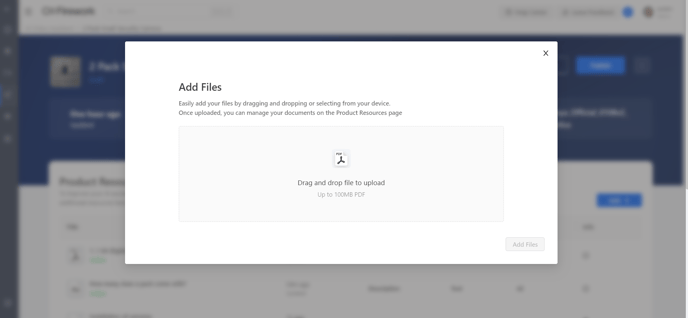
- AVA will provide a reference link
- Drag or click to upload a file. It must be a PDF only.
- Once uploaded, you can manage your documents on the Product Resources page
- Import from SV:

-
- Directly import short videos from your channel. Search and select videos. Note: this will not showcase interactions previously added to videos.
- Adjust the video Title and Toggle Use Original Audio to On to provide the original audio for this video. Otherwise AVA will talk over the video if a response is provided.
- Once the video is uploaded and information is added, select Add Video.
-
- Webpage :
You can input the desired web link to include it as a resource. After the upload is complete, you will have the ability to manage your documents on the Product Resources page. Click on Add another URL after submission if you wish to add more URL and then click on Save.
Upload Requirements:
- Video (Media Files)
- Up to 300mb MP4, MOV, WMV, FLV, AVI, PNG, JPG, JPEG
- Plain Text
- Title & Unstructured Text
- File
- 100mb PDF
- Import from SV (Short Video)
- Select from Video Library
- Webpage
- URL
Add Products
To include additional products for your AVA, simply navigate to the Linked Products section on the left sidebar and click on the Add Products+ button.
One click Crawling
When a user imports a product into AVA, we now automatically crawl the PDP (if available) to retrieve FAQs and product comparisons.
-
- Import Products – Click Linked Products > Add Product (+) to import into AVA.
- Auto-Crawling – AVA automatically crawls the PDP (if available) for FAQs and product comparisons.
- Review Content – A message will confirm completion. Click Review the crawled information to edit, delete, or select resources.

- Add Resources – Select the resources and Click Add Resources to finalize selections.

- Confirm Selection – Only selected resources will be stored and trained with AVA.
- The Add Resources will be available under Resources section.
Personalize
This feature allows you to customize your assistant's appearance and personality for a more personalized experience. You can modify the assistant's name, description, greetings, background color, and default interaction mode giving shoppers the option to switch between text and audio input during conversations.
Conversation History
You will be able to access and review all the conversation history to gain valuable insights and enhance the quality of user interactions. You also have an option to export the conversations.
For more detailed information, please refer to the guide on conversation history. - link
Add to Site
You can integrate your AVA into your website from this section, which will enhance user engagement and improve customer support. Learn how to Embed Ava onto your website - link
You can Preview your AVA by selecting the Preview option located on the right side of the Assistant overview. By clicking the Publish button, you will make your AVA live and accessible for users to interact with.
